You wanted to upgrade your HDD to a SSD, or increase the capacity of your SSD? You cloned your old disk to a new one using whatever software and now you cannot boot Windows on your new disk? Here is how to fix it.
This guide is intended for people who know they did not miss any other technical tricks including the following ones:
– Cloning software failed to copy everything (you ignored some error messages)
– Not all partitions were cloned (especially the small EFI System partition)
– You did not implicitly switch from MBR to GPT during cloning
– Your BIOS settings are (suddenly?) incorrect
So here you are: you copied all the data and essential partitions, using a reliable method, but the system won’t boot.
The problem is due to the Boot Configuration Data on a hidden partition that no longer points to the correct volume (it continues to point to the original volume on the old disk).
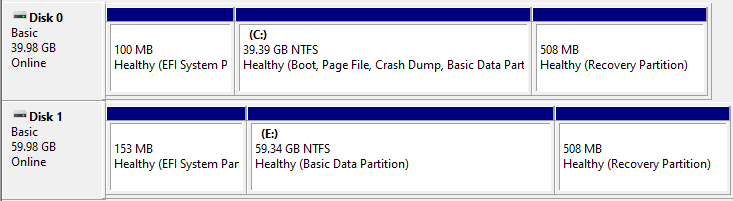
Here is an example of our computer with Disk 0 being the original disk and Disk 1 being the bigger cloned disk with resized partitions, connected using an external adapter.
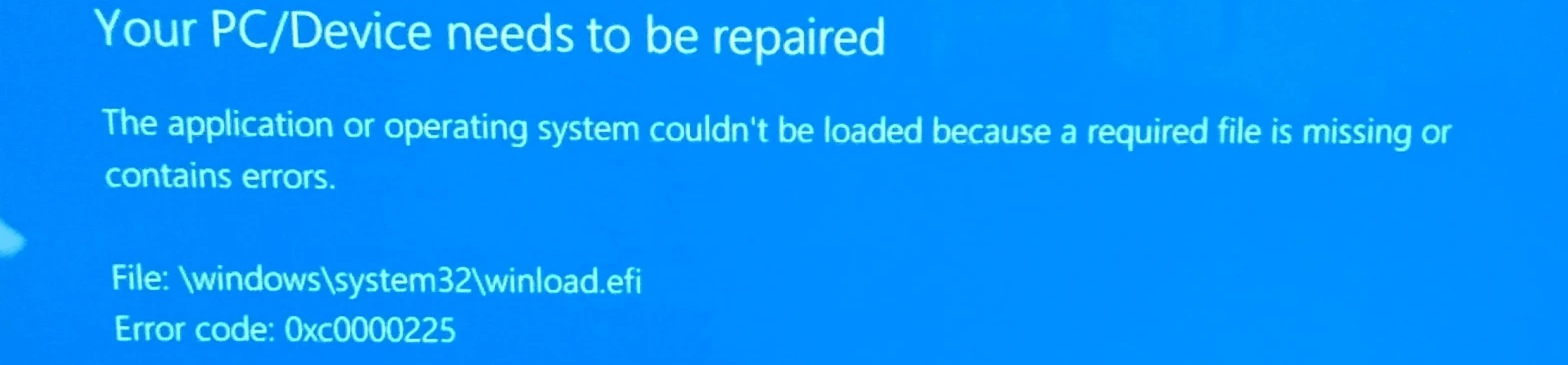
If we remove our original Disk 0 and replace it with Disk 1 and try to boot, Windows gives you this error message:

Unfortunately, at this point, you will need to either (1) temporarily revert back to your previous HDD/SSD, or (2) access another computer to prepare a Windows installation USB flash drive.
I will assume your disks are formatted using GPT, and your boot method is UEFI.
Option 1: If you did not yet swap disks
If you are still in Windows running on your old disk, or if you can swap back the disks easily to boot on your old disk, the procedure is faster.
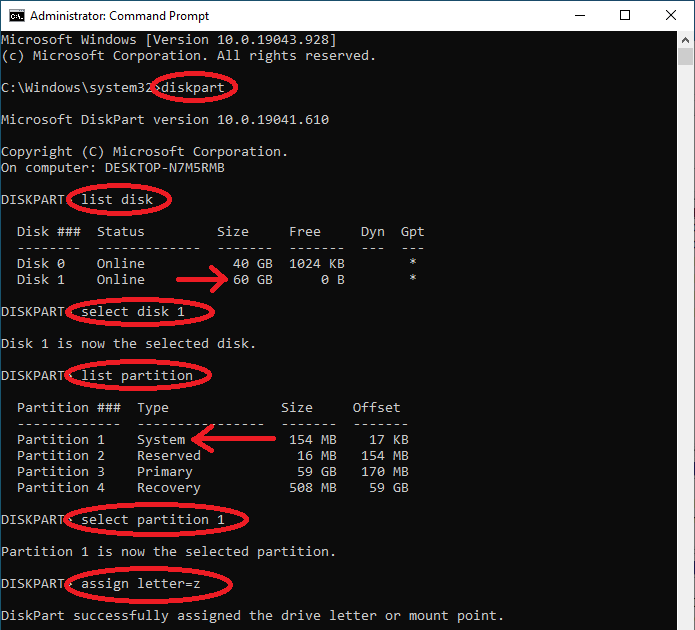
Start an elevated command prompt, and type the following (see screenshot below):diskpart
list disk
Then, identify the cloned disk (if you upgraded to a bigger disk, this should be obvious by looking at the Size column). In our case, it is Disk 1. Then type:select disk 1
list partition
Identify the EFI System partition, it should be a small 100MB+ partition of type System. In our case, this is partition 1. Type:select partition 1
assign letter=z
exit
Then, we will also assign a letter to the new disk’s Windows partition (if not already done by Windows, e.g., E:\Windows). It is usually the only large partition of type Primary, in our case, it’s partition 3. Type:select partition 3
assign letter=wexit
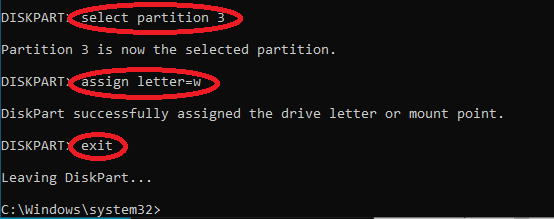
Now, fix the boot configuration on the new disk by typing:
bcdboot w:\Windows /s Z: /f UEFI
Where w:\Windows is the Windows folder on your cloned disk, Z: is the EFI System partition on the cloned disk, which we just gave the letter Z. This command will edit the BCD, aka Boot Configuration Data, and point to the correct Windows volume.

Then, you can shutdown your computer, swap the disks and boot normally!
Option 2: Windows installation/repair media
In case it is not preferable or no longer feasible to boot on your previous working disk, here are the steps to create a Windows installation media if you can access a working Windows computer and have a spare USB flash drive (8GB+).
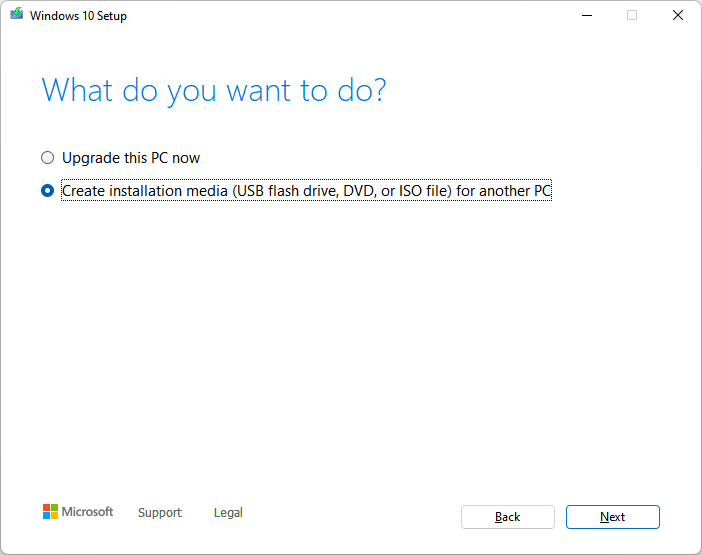
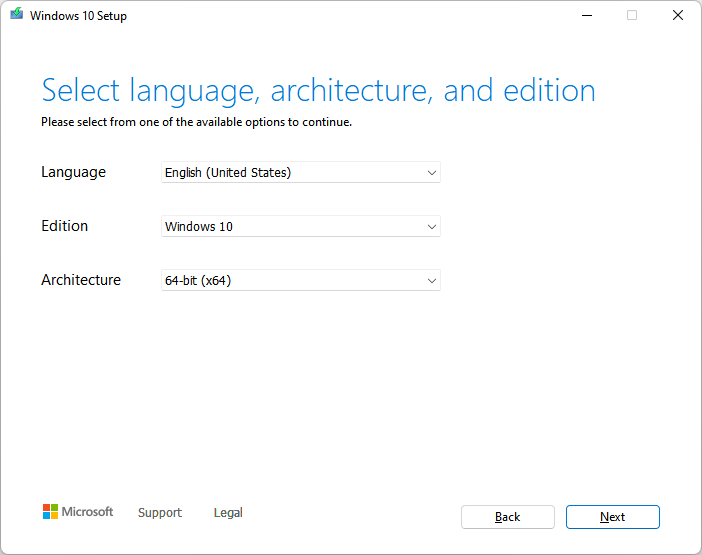
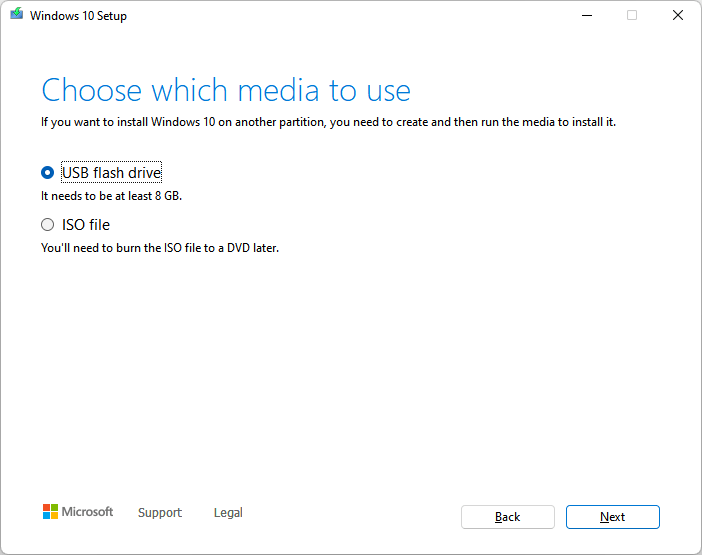
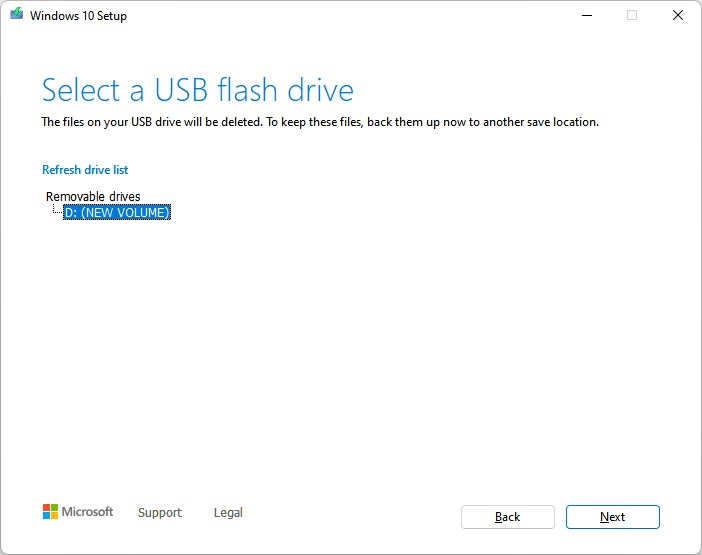
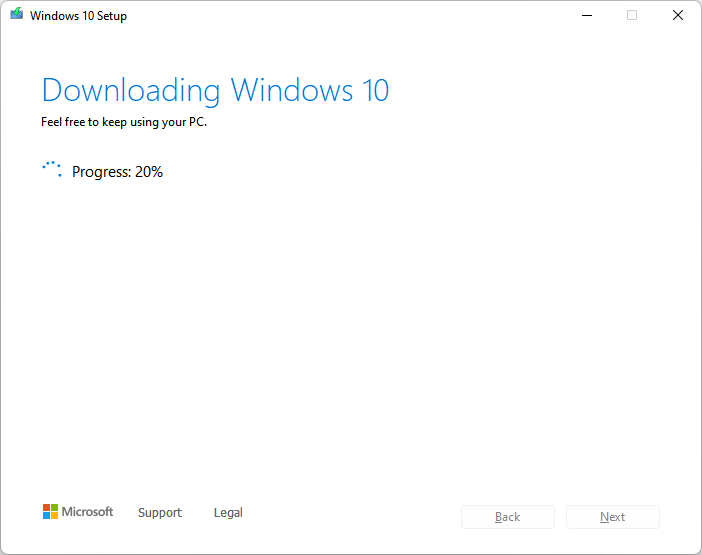
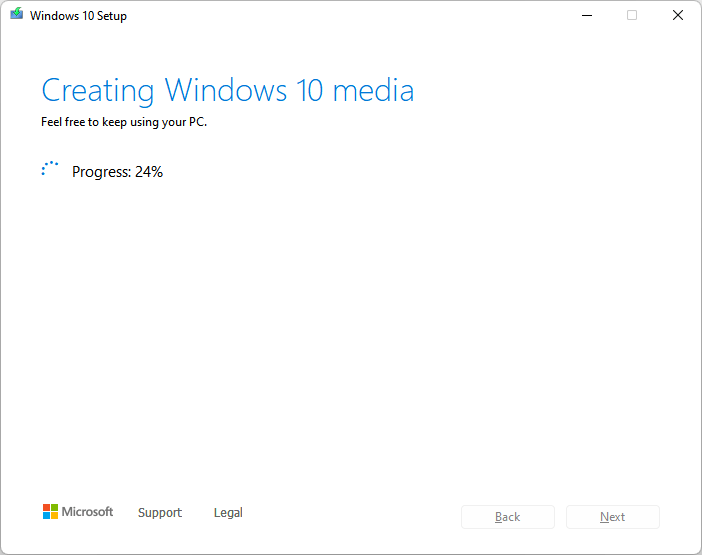
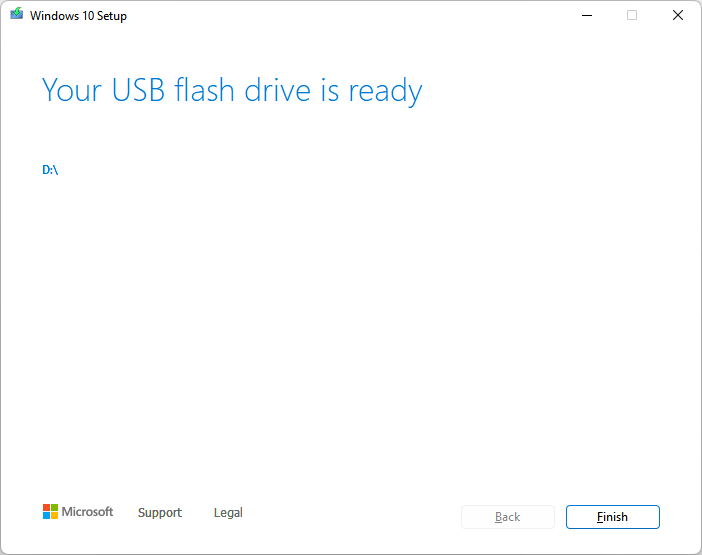
1) Prepare a Windows installation USB flash drive
First, if you do not already have a Windows installation ISO file, download the Media Creation tool from Microsoft. Follow the instructions to either prepare a USB flash drive directly or just download the ISO file. Having an ISO, you can prepare a USB drive with Rufus. Note: having the exact ISO matching your Windows version/edition/platform is not required.
Follow the steps below to create a Windows installation media:
2) Boot on the Windows installation media
Back to the problematic computer. Insert the USB drive.
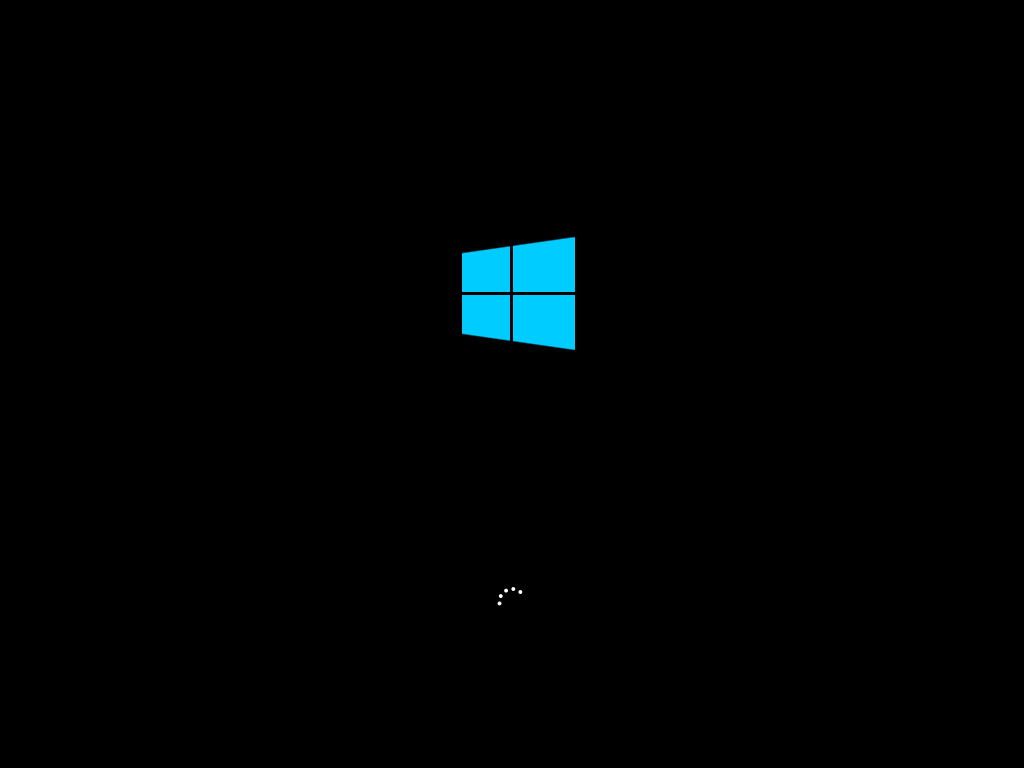
A tricky and non-standard step is to boot your computer on this Windows installation media.
Depending on your computer, you may have access to a Boot Menu by pressing F12, F11, F8 or another key as soon as your computer is powered on, which would allow you to select the USB flash drive as a boot media.
If not, the simplest way is to enter the BIOS (typically by pressing the Esc, F2 or Del keys early after power on), navigate to a Boot menu, and change the boot order to let the USB devices as a first choice, which you can revert later on when everything is done. Alternatively, you can also reach the BIOS by pressing Esc when seeing the Windows blue screen (“Esc for UEFI Firmware Settings“).
If you see this screen, this is a good sign, press Enter:

Booting on the Windows installation media looks the same as booting Windows, don’t be fooled:
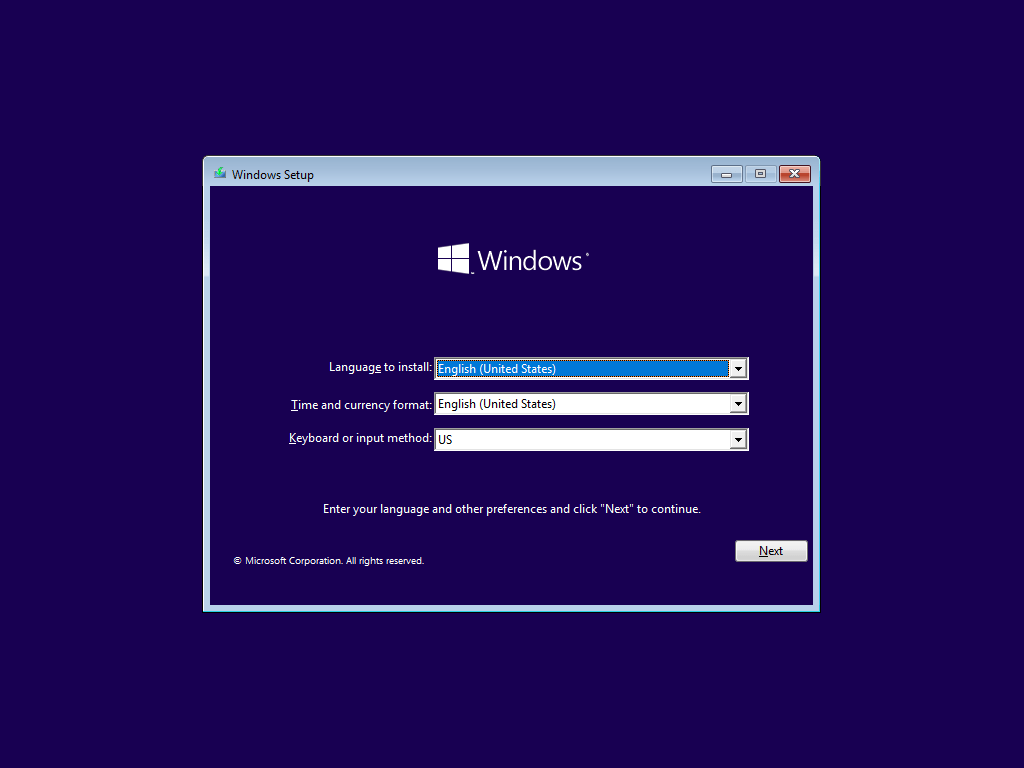
This following screen appears, click Next.
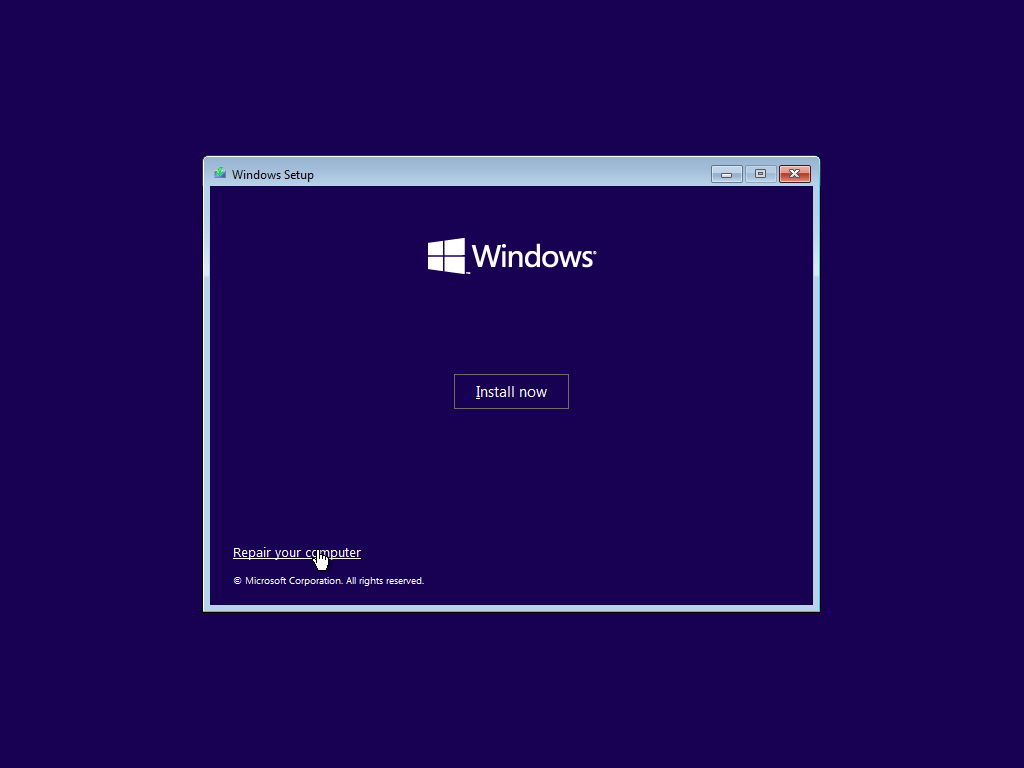
Then click the small link at the bottom: Repair your computer.
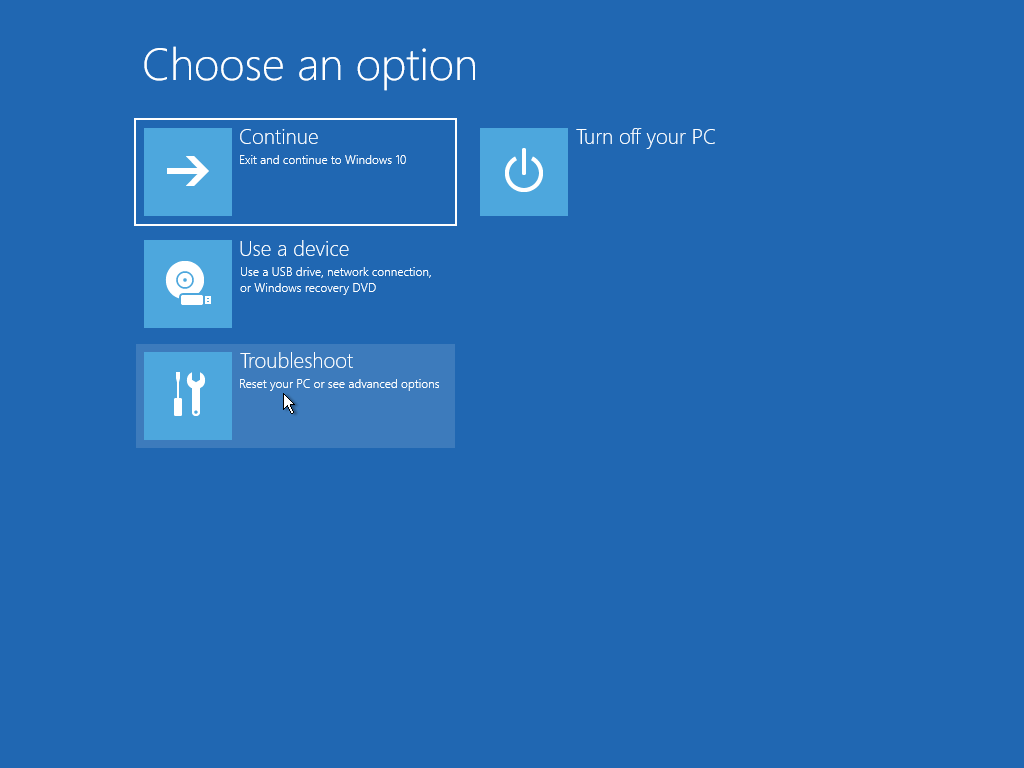
Click Troubleshoot.
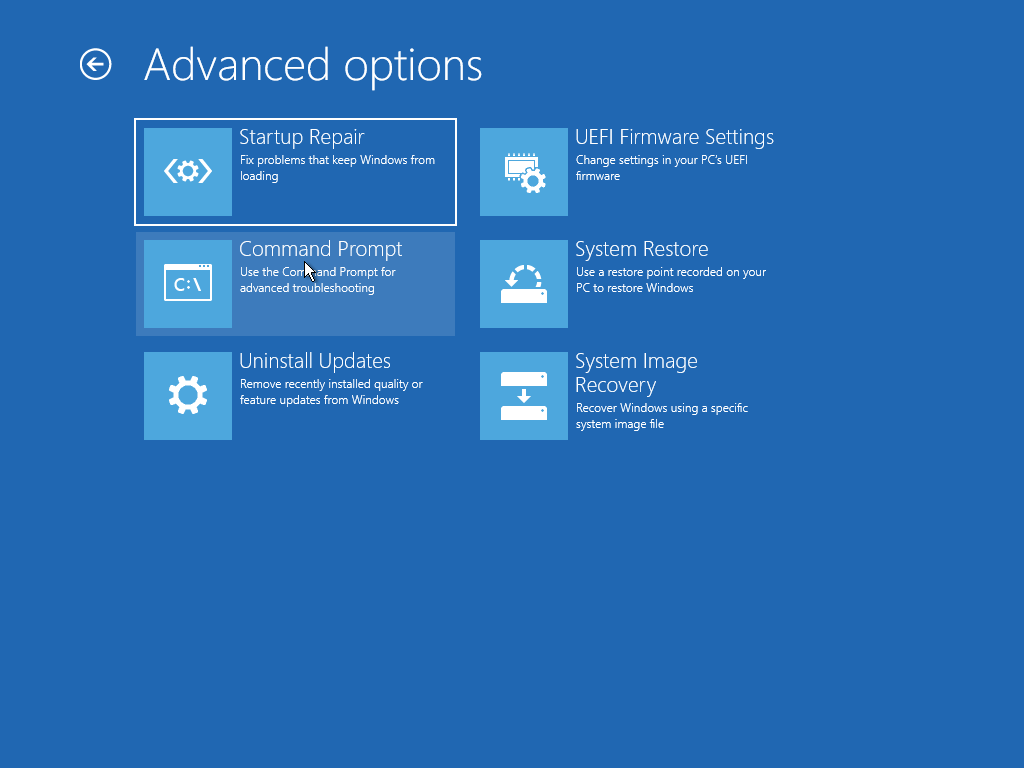
Click Command Prompt.
A command prompt appears:
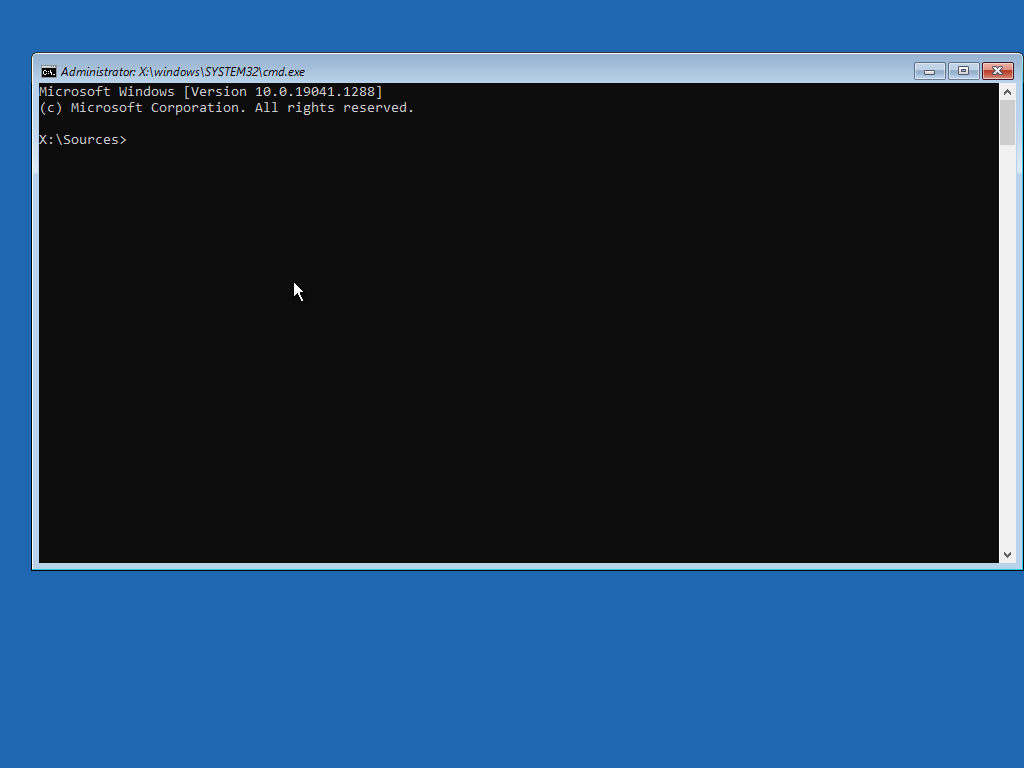
3) Fix BCD
On the command prompt, type the following commands:diskpart
list disk
Decide which of the disks is your cloned disk. If you have only one disk in your computer, it will likely be Disk 0, and the USB flash drive will be attributed a later number. Then type:
select disk 0
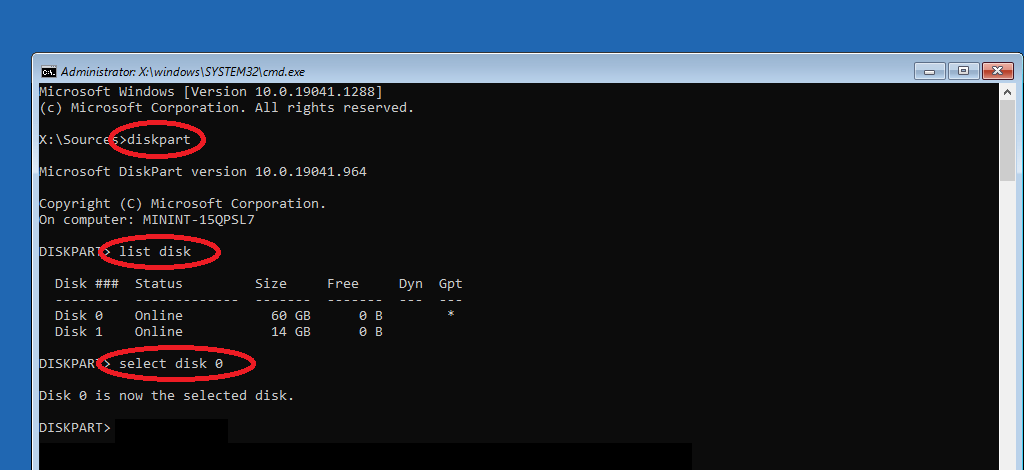
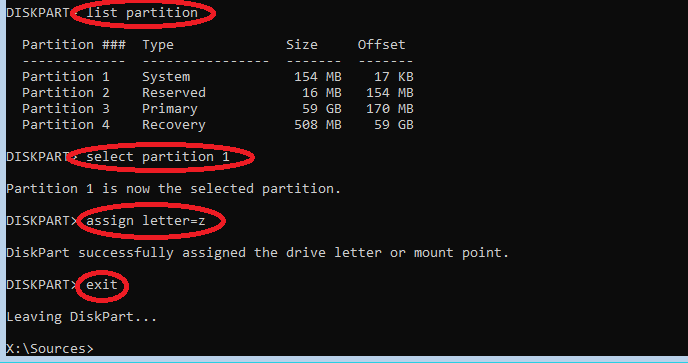
Next, type:list partition
You will see a list partitions on the select disk. Identify the EFI System partition: it is a small volume (typically 100MB or so), of type System. In our case, this is volume 1. Select this volume and give it a letter by typing the following commands:select volume 1
assign letter=z
exit
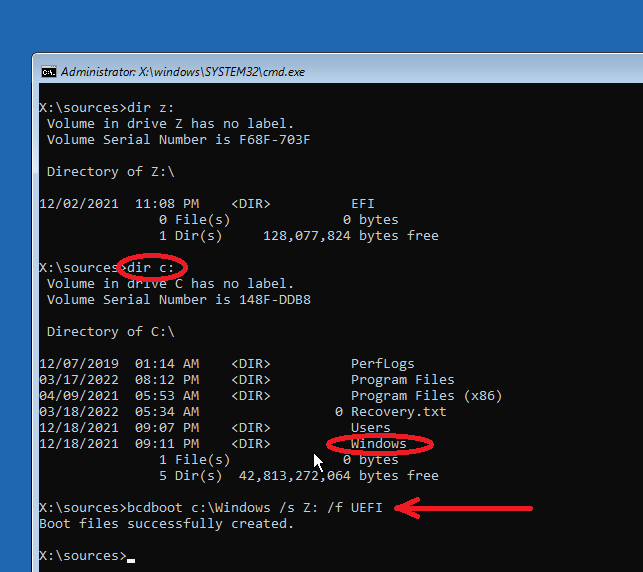
Then, identify your Windows partition. It should have already been assigned letter C:, just confirm with dir c: to find a Windows folder.
The single command that will fix your booting problem is now the following:
bcdboot c:\Windows /s Z: /f UEFI
Where c:\Windows is the Windows folder on your cloned disk, Z: is the EFI System partition we just gave the letter Z. This will edit the BCD, aka Boot Configuration Data, and point to the correct Windows volume.
Type exit, and click Turn off your PC. Remove your USB flash drive, revert your BIOS settings if you changed them, and you’re done!

Thanks! This got my cloned ssd working for me.
LikeLike